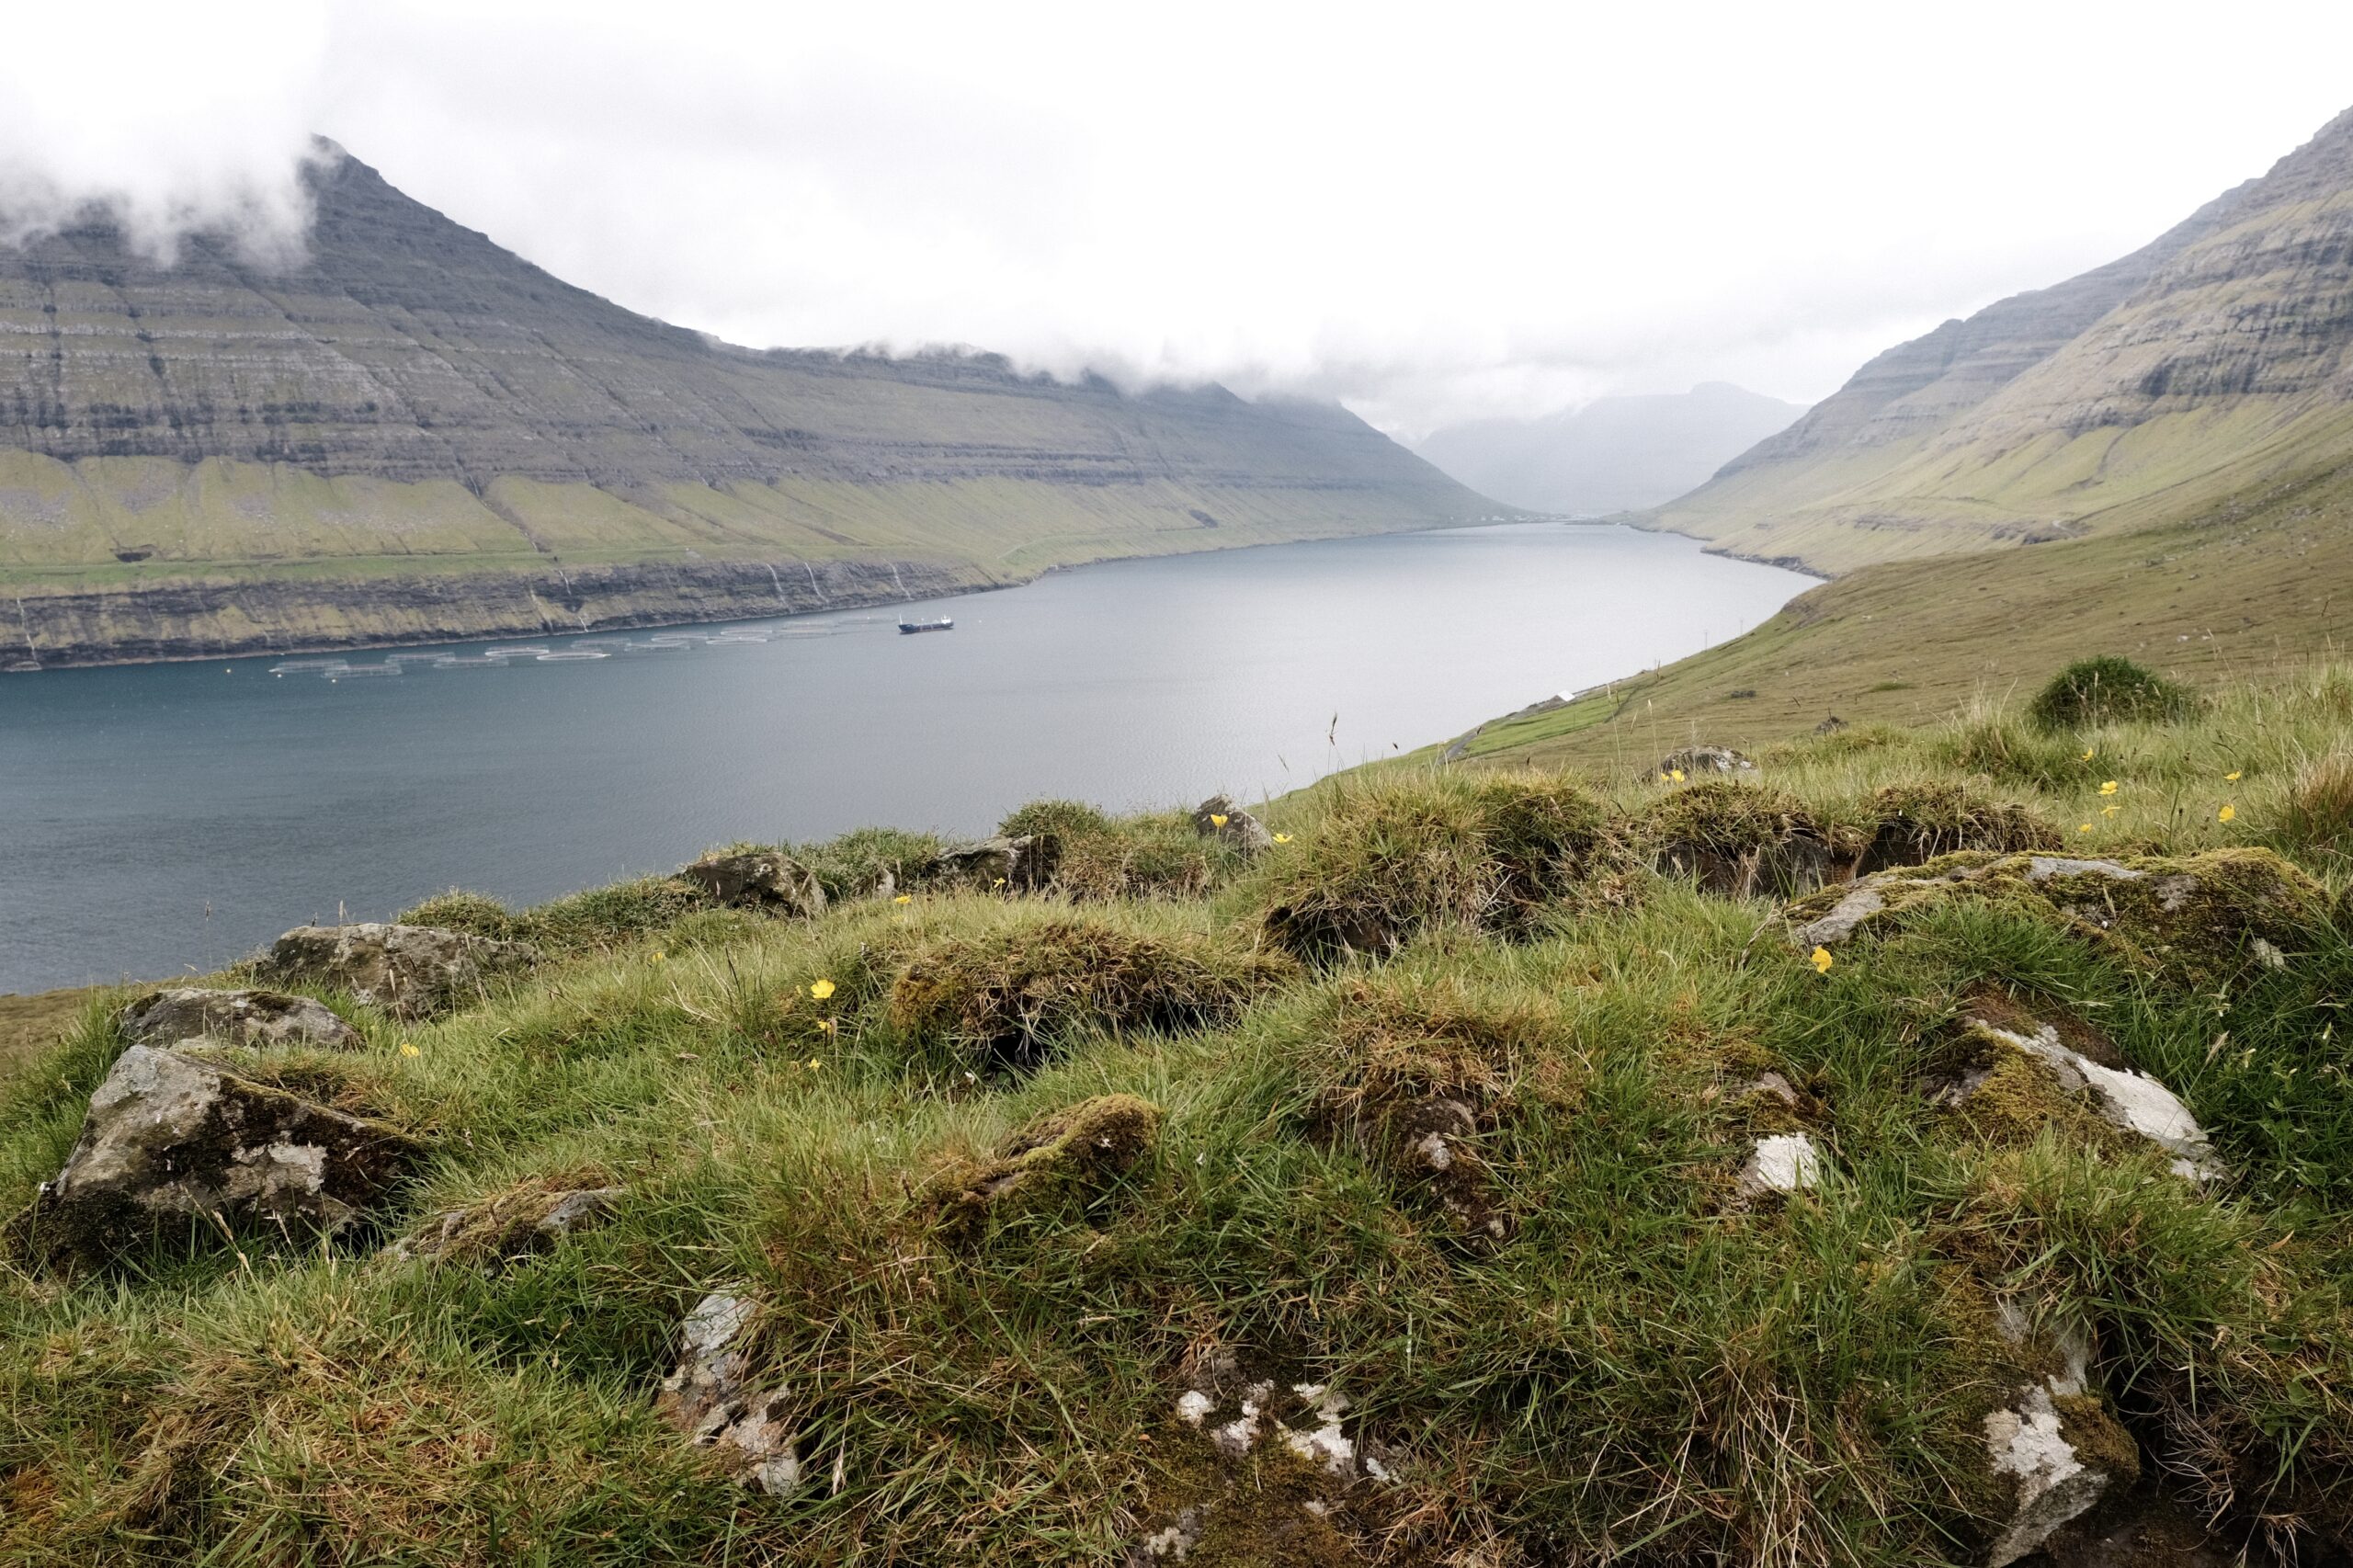
Acros is the name of Fujifilm’s Black and White in-camera digital film simulation. Ever since starting with fuji, I have been a huge fan of this film simulation. Acros was first introduced in 2016 and has since been included in all new X-Trans sensor cameras.
What makes Acros so special is that it is designed to mimic the look and feel of traditional black and white film.

Unique Characteristics
One of the unique characteristics of Acros is its high level of contrast and film-like grain. This is because Acros is designed to mimic the ISO grain of traditional black and white film, which makes it ideal for capturing detailed images with a film-like and nostalgic quality.
My Use
I often use Acros in my photography, particularly when shooting portraits and everyday scenes. I find that the film simulation gives my images a classic, timeless feel that normally would be difficult to achieve with digital photography alone. I use the +Ye filter with Acros, which helps to enhance the contrast and tonality of my images. I typically set my highlights to -2 and my shadows to +3 to achieve the contrasty look you see on these sample images.
As it is often the case with in-camera film simulations from fujifilm, I find that it is necessary to push the exposure compensation around +2/3 to +1 stop, depending on the scene. More often than not, exposure compensation is the only setting I adjust while shooting this film simulation.
The Images shown here are all straight out of camera JPEGs, captured directly in camera with the recipe shown above. No editing was applied afterwards.

My base settings for this film simulation are the following:
Film Simulation: ACROS + Ye
Monochromatic Color: WC -1, MG 0
Grain Effect: Off
Color Chrome Effect: Weak
Color Chrome Fx Blue: Weak
White Balance: Auto, R: 7, B: -4
Dynamic Range: DR400
Dynamic Range Priority: Off
Tone Curve: Highlights: -2, Shadows: +3
Color: N/A
Sharpness: +2
High ISO NR: -4 (off)
Clarity: 0
Notice the slight monochromatic color tweak, which gives a warmer feel to the image.


